
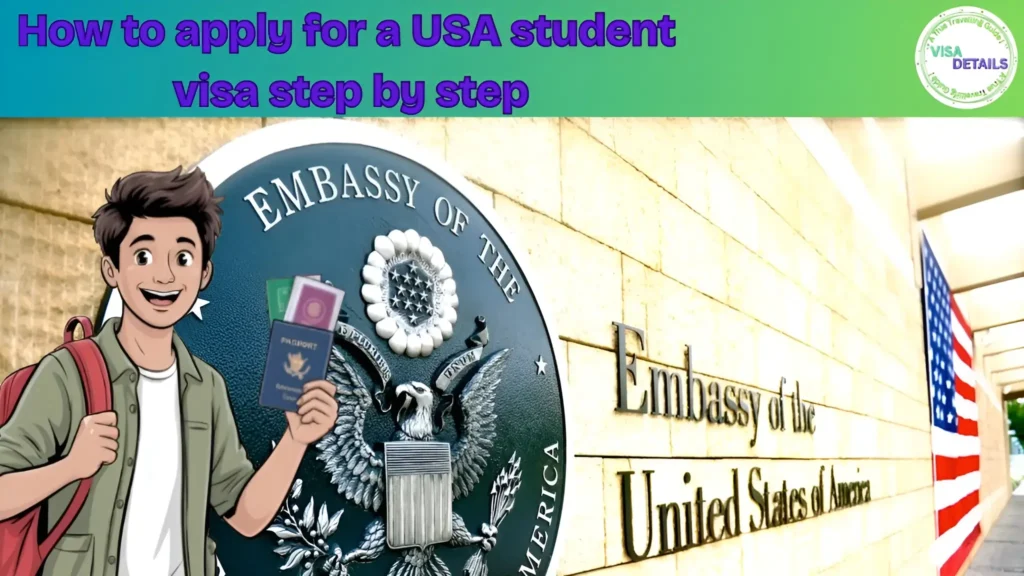
Introduction
If you’re planning to study in the United States, getting a student visa is one of the most important steps. The USA is home to some of the world’s top universities and offers high-quality education and global career opportunities.
But applying for a USA student visa can feel confusing at first — especially for beginners. Don’t worry! This article will guide you through each step clearly and simply, so you can apply confidently and start your education journey in the USA.
Types of Student Visas for the USA
Before we go into the application process, it’s important to know which type of visa you need. There are three main types of U.S. student visas:
1. F-1 Visa (Most Common)
For academic studies at U.S. colleges or universities
Also used for English language programs
2. M-1 Visa
For non-academic or vocational studies (e.g. technical courses, training programs)
3. J-1 Visa
For exchange students, scholars, or visiting professors
Most international students apply for the F-1 visa. This guide focuses on the F-1 visa process.
Step-by-Step Process to Apply for a USA Student Visa
Step 1: Get Admission to a SEVP-Approved School
You must first apply and get accepted by a U.S. institution approved by the Student and Exchange Visitor Program (SEVP).
- Use this official tool to find SEVP-approved schools: https://studyinthestates.dhs.gov/school-search
Step 2: Pay the SEVIS I-901 Fee
After receiving your I-20 form, you must pay the SEVIS (Student and Exchange Visitor Information System) fee.
As of now, the SEVIS fee for F-1 visa applicants is $350.
You can pay it online using this link:
https://fmjfee.com/i901fee/index.html
Step 3: Complete the DS-160 Visa Application Form
The DS-160 is an online form that collects your personal, academic, and travel details.
Fill it carefully and honestly.
You’ll receive a confirmation page with a barcode once completed — print this page for your records.
Complete DS-160 here:
https://ceac.state.gov/genniv
Step 4: Pay the Visa Application Fee
After submitting DS-160, you must pay the non-refundable visa fee, which is $185 for most countries (including Pakistan).
Payment methods vary by country. In Pakistan, you can usually pay via Allied Bank or U.S. Visa Information and Appointment Services website.
More info: https://www.ustraveldocs.com/pk/
Step 5: Schedule a Visa Interview
Now it’s time to schedule your visa interview at the nearest U.S. Embassy or Consulate.
In Pakistan, there are two locations:
Islamabad (Embassy)
Karachi (Consulate)
Use this link to create your profile and book your appointment:
https://www.ustraveldocs.com/pk/pk-niv-appointmentschedule.asp
Step 6: Prepare for the Visa Interview
This is the most important step. A U.S. visa officer will interview you to understand your study plan, financial background, and ties to your home country.
Documents You Must Bring:
Valid passport (at least 6 months beyond intended stay)
DS-160 confirmation page
Visa appointment letter
SEVIS fee payment receipt
Form I-20 from your school
Passport-sized photograph
Bank statements or proof of funds
Academic records (transcripts, degrees)
Test scores (IELTS, TOEFL, SAT, etc.)
Step 7: Attend Your Interview
Arrive at the embassy on time with all documents. Answer questions honestly and clearly. Common questions include:
Why did you choose this university?
What course will you study?
Who is funding your education?
Do you plan to return to your country after studies?
Be confident and polite.
Step 8: Visa Approval and Passport Collection
If approved, the visa officer will keep your passport and return it with the visa stamp in a few days.
You can track your passport status via:
https://www.ustraveldocs.com/pk/pk-niv-passporttrack.asp
Once you receive it, congratulations! You’re now ready to travel to the USA as a student.
Extra Tips for a Successful Visa Application
Start early: Apply at least 3–4 months before your course starts.
Show strong ties to your home country (family, job, property, etc.)
Practice mock interviews with friends or mentors.
Avoid fake documents — they lead to visa bans.
Dress properly for the interview (business casual).
Speak clearly in English (don’t memorize answers).
Can I Work While Studying on an F-1 Visa?
Yes! F-1 visa holders can work:
On-campus jobs (like library or cafeteria): up to 20 hours/week during school
Optional Practical Training (OPT) after graduation
Curricular Practical Training (CPT) during studies (depends on course)
Learn more at https://studyinthestates.dhs.gov
What Happens If My Visa Is Rejected?
Don’t panic. Visa rejections happen — often due to missing documents, unclear answers, or weak financial proof.
You can:
Reapply after correcting the issue
Ask the officer for the rejection reason (usually 214(b))
Prepare better next time and rebook the interview
Final Words
Applying for a USA student visa is a big step toward achieving your academic dreams. By following this simple, step-by-step guide, you’ll increase your chances of getting approved and starting your studies in the U.S. with confidence.
Remember, being honest and well-prepared is the key. Good luck!
FAQs About Applying for a USA Student Visa
1. What is the best time to apply for a USA student visa?
You should apply for your U.S. student visa at least 3-4 months before your course start date. This gives you enough time to attend your interview, get approval, and plan your travel. The earliest you can apply is 120 days before your program starts.
2. Is the USA student visa interview difficult?
The visa interview is simple if you’re well-prepared. Practice common questions like “Why do you want to study in the USA?”, “Who is sponsoring you?”, and “What will you do after your studies?”. Be confident and honest, and carry all necessary documents with you.
3. Can I work in the USA on an F-1 visa?
Yes, students on an F-1 visa can work part-time on-campus up to 20 hours per week during semesters. After one year, you may also qualify for CPT (Curricular Practical Training) or OPT (Optional Practical Training) which allows off-campus work related to your field.
4. What if my visa is rejected? Can I apply again?
Yes, you can apply again even if your visa was rejected. First, try to understand the reason for rejection mentioned in the 214(b) form. Address that issue, prepare better, and reapply with stronger documentation or a better explanation.
5. Do I need to show bank statements for a USA student visa?
Yes. You must prove that you or your sponsor can cover the full tuition and living expenses. A general rule is to show funds covering at least one year of study, which can be in the form of bank statements, scholarship letters, loan approvals, or financial affidavits.
6. How much bank balance is required for a U.S. student visa from Pakistan?
While there’s no fixed amount, it’s recommended to show at least $25,000–$35,000 USD (or equivalent in PKR) to cover tuition, living expenses, health insurance, and other costs for the first academic year. This should be backed by official bank statements or sponsor proof.
7. Can I bring my family (spouse or children) on a student visa?
Yes, your spouse and children (under 21) can apply for F-2 dependent visas. However, F-2 visa holders cannot work, and children can attend school. You’ll also need to show additional financial resources to support their stay in the USA.